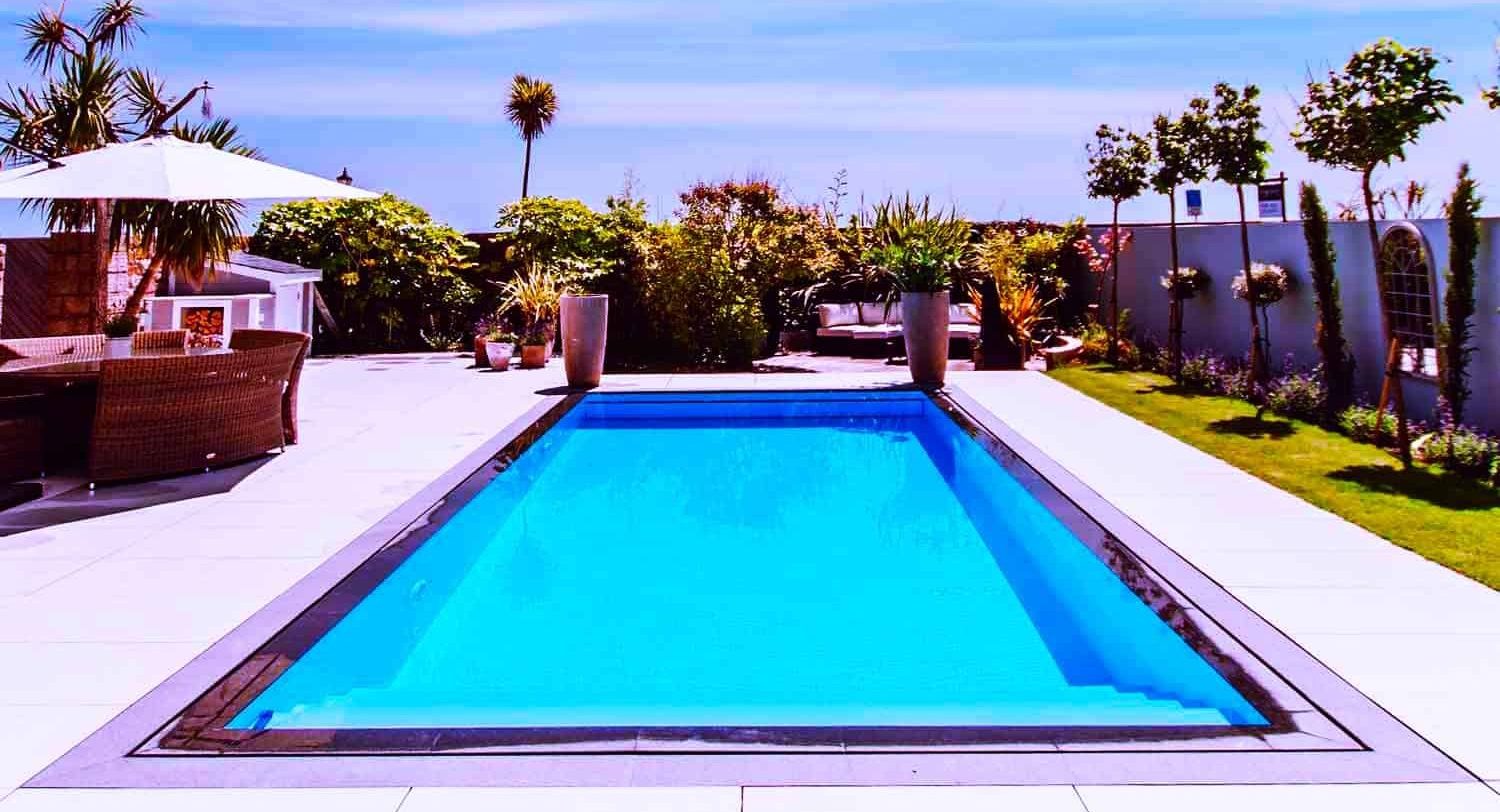
Grass becomes greener, birds start singing their songs, and the sun pleases us more often with its presence in the clear blue sky. All of this tells us about the long-awaited arrival of spring and indicates that it’s time to get your pool ready for the new season.
Opening a pool in the spring is the very first thing you should do. That process may seem thrilling after months of disuse. Unlike the straightforward task of unwrapping patio furniture, preparing your pool for the warm months ahead demands a thoughtful approach to make sure it’s safe, clean, and ready for enjoyment.
Preparing for Pool Opening
As the swimming season approaches, pool owners eagerly anticipate the hour they can remove the pool cover. A week or even two is the time gap to start preparations before the intended opening. This timeframe is needed for a thorough inspection and any necessary adjustments.
Gather all tools and materials, such as:
- Pliers;
- Screwdrivers;
- Hoses;
- Bungee cords
They are indispensable for securing parts and performing minor repairs.
Chemicals like chlorine shock and pH powder are important in sanitizing the water and maintaining balance. These preparations set the foundation for a successful opening day.
Inspecting the pool area for winter damage or debris accumulation is equally important.
Check for:
- Cracks;
- Leaks;
- Equipment malfunctions.
It can save you from future headaches. Removing debris promises that the filtration system operates efficiently.
Chemicals used in pool maintenance are potent and have to be handled carefully to avoid accidents. Wearing protective gear and following manufacturer instructions is for everyone’s safety during the pool opening process.
Removing and Cleaning the Cover
The beginning of opening a pool in the spring involves removing the pool cover without introducing more work. It’s important to prevent any water or debris on top of the cover from falling into the pool. Start by gently pumping off any standing water.
After clearing the top, carefully lift the edges and fold inward, minimizing spillage. Once fully exposed, assess the pool’s condition before proceeding to the next steps.
Thorough cleaning
Once removed, lay the cover flat on a clean surface for a detailed cleaning session. Use a hose to wash away dirt and remaining debris. A soft broom can help dislodge stubborn spots without damaging the cover.
It’s important to tackle both sides of the cover, removing all leaves and dirt. This will extend the lifespan of your pool cover and prevent unwanted dirt from entering your pool area in future seasons.
Storage preparation
Before folding, inspect for any damages that might need repair or signal it’s time to replace your cover. Small tears can become more significant issues if not addressed in time.
Fold your cover neatly, avoiding sharp creases that could weaken its material over time. Store it in a cool, dry place inside a sturdy container that keeps pests and rodents at bay until next season.
Reconnecting and Checking Equipment
After carefully removing and cleaning the pool cover, it’s important to turn your attention to the pool’s heart and veins: the equipment. Begin by inspecting pumps, filters, and piping. Look for any signs of damage, like cracks or brittleness, that winter might have inflicted.
Pumps serve as your pool’s circulatory system, pushing water through filters to cleanse it. They should be free from debris and in good working condition. Filters trap dirt and should be checked for clogs or wear that could impede water quality.
Secure connections
Once all equipment has undergone a thorough inspection, focus on reconnecting everything securely. Leaks not detected in time often lead to water waste but also cause significant damage over time.
Every hose, fitting, and clamp must be aligned correctly and tightened. This step is for maintaining a seamless flow of water through your pool’s filtration system. A single loose connection can undermine the efficiency of your entire setup.
Efficiency check
Lastly, once everything is connected and secured, conduct an efficiency check. Turn on the pump and observe the water flow through filters into the pool. This moment reveals if there are any issues with pressure or leaks that weren’t apparent during the initial checks.
It’s also a good opportunity to assess whether your equipment is running as quietly and smoothly as it should. Unusual noises or vibrations can be early warnings of issues.
Filling and Priming Your Pool
After reconnecting and checking all pool equipment, it’s time to fill your pool. Begin by adding water until it reaches the recommended level, usually halfway up the skimmer opening. It’s needed for optimal circulation and filtration, important for maintaining clean water.
It’s essential to monitor the water level closely during this process. Adjustments might be necessary as the pool settles. A proper water level prevents potential issues with the filter pump and other equipment.
Pump priming
Once filled, priming the filter pump is your next step. Follow the manufacturer’s instructions carefully to avoid damage. Priming typically involves checking if the pump basket is full of water and removing any air trapped in the system.
Maintenance tips:
- Regularly check the water level, especially after heavy rain or extended use;
- Keep an eye on the pump’s pressure gauge. Unusual readings may indicate it needs re-priming;
- Clean out the pump basket routinely to prevent clogs that can impede water flow.
Running a dry pump can lead to overheating and severe damage. Water flows smoothly through your pool’s filtration system, effectively catching debris and contaminants.
Cleaning and Accessory Setup
After filling and priming your pool, the next step is to remove any debris. Use a skimmer to collect floating leaves and twigs. Then, a pool vacuum helps clean the bottom surfaces so no dirt is left behind. It’s important for the water’s clarity.
Brushing the pool’s walls and floor dislodges algae and dirt, making chemical treatments more effective later.
Balancing Water Chemistry
After completing the cleaning and accessory setup, it’s important to focus on balancing water chemistry. This step provides a safe and enjoyable swimming environment. To commence, test the pool water for its pH, alkalinity, and calcium levels.
These parameters are fundamental for maintaining water balance. An optimal pH level prevents irritation to swimmers’ skin and eyes and protects pool equipment from corrosion. Total alkalinity acts as a buffer for the pH level, helping to keep it stable. Calcium hardness is essential to prevent plaster damage.
If any adjustments are necessary, use the appropriate chemicals. Soda ash can be effective in raising pH levels, and baking soda is commonly used to increase alkalinity.
Algae prevention
Algae growth poses a significant challenge in pool maintenance. Preventing its occurrence is easier than dealing with an infestation.
Maintain proper chlorine levels and make sure total alkalinity and pH are balanced to hinder algae growth. Regular testing and adjustment of these parameters are key strategies in algae prevention.
Running and Maintaining the System
After balancing water chemistry, it’s important to activate the pool’s filtration system. This allows the chemicals to blend effectively and remove contaminants.
To launch the season, run the system continuously for at least 24-48 hours. This initial long run helps circulate the newly balanced water and distribute chemicals evenly. It’s a way to guarantee your pool reaches an optimal starting condition.
Filter management
Regular monitoring of filter pressure is essential for maintaining optimal filtration efficiency. An increase in pressure indicates it’s time to backwash or clean the filter.
Perform backwashing daily during the first week of opening. This process reverses water flow through the filter, flushing out trapped debris. It keeps filtration at peak performance, preventing issues related to clogged filters.
Storing Pool Equipment Properly
Proper care of the pool cover after opening a pool in the spring is needed for longevity and readiness for the next season.
- Fold the cover carefully;
- Avoid sharp folds that could cause tears;
- Store it in a dry, cool place.
This prevents mould and damage, extending its lifespan significantly. A well-maintained cover can save time and resources in future preparations.
Tool maintenance
All pool tools require attention before storage.
- Wash them thoroughly to remove chlorine and other chemicals;
- Dry each item completely to prevent rust and deterioration;
- Store tools in a clean, organized manner.
This provides easier access when reopening the pool.
Chemical storage
Pool chemicals need careful handling and storage.
- Place them in a safe, dry location;
- Make sure that they’re away from direct sunlight and extreme temperatures;
- Place them out of reach of children and pets as it may prevent accidents.
Proper chemical storage is a cost-effective measure.
Conclusion
Avanti Landscaping employs the best landscaping techniques for pools that meet health standards and building codes. Their approach includes using high-quality materials that provide durability and safety.
For those interested in interlocking Toronto services, Avanti Landscaping provides solutions to improve your pool area.